原始的每个单独的项目配置文件都是在application中,而且最终打包后配置文件也是被封装了起来,这对于配置文件的再次更新就带来了很多不便利,涉及到重新打包,而且仅仅修改了配置文件就重新打包一次未免代价太大,这时候就可以享受统一配置中心的以下好处
- 统一管理各个微服务的配置,所有微服务的配置信息统一管理,包括不同环境的配置,数据库的配置等等
- 动态更新配置信息,原来的方式配置文件无法动态更新,需要重启服务,但现在可以了,可以动态刷新微服务的配置信息,而且不需要停止和重启是不是很嗨皮
有这么多的好处那就必须用才是,下面简单介绍下怎么搭建一个配置中心来管理各个微服务的配置文件
目录
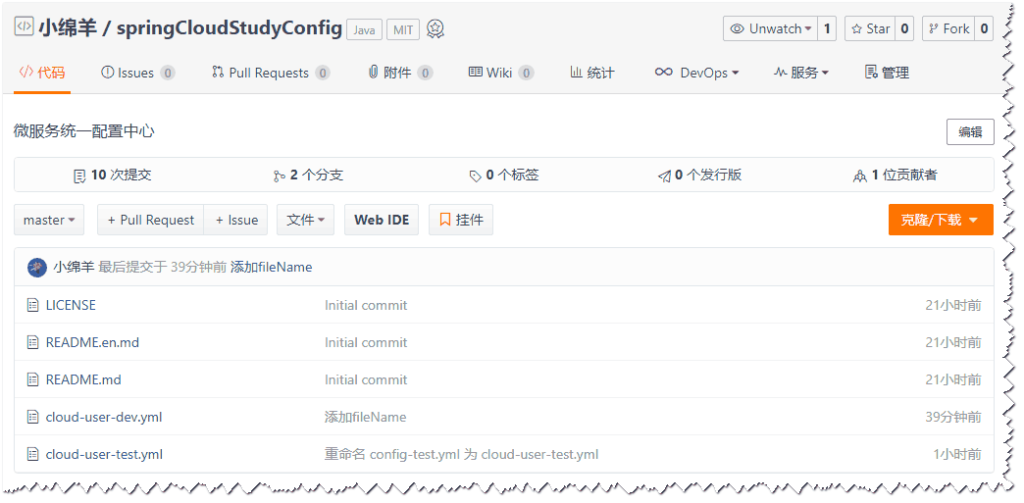
1、创建一个git仓库用于集中管理配置文件
以下是我在码云上面创建的仓库,可以直接fork过去用
https://gitee.com/apgblogs/springCloudStudyConfig
2、创建配置中心模块
创建maven模块的方法和以前其他微服务的创建方式一样
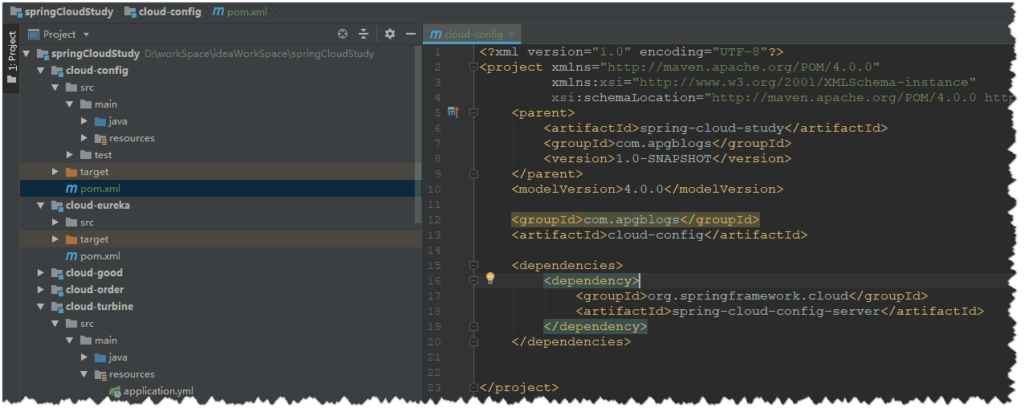
3、添加配置中心所需依赖
<?xml version="1.0" encoding="UTF-8"?>
<project xmlns="http://maven.apache.org/POM/4.0.0"
         xmlns:xsi="http://www.w3.org/2001/XMLSchema-instance"
         xsi:schemaLocation="http://maven.apache.org/POM/4.0.0 http://maven.apache.org/xsd/maven-4.0.0.xsd">
    <parent>
        <artifactId>spring-cloud-study</artifactId>
        <groupId>com.apgblogs</groupId>
        <version>1.0-SNAPSHOT</version>
    </parent>
    <modelVersion>4.0.0</modelVersion>

    <groupId>com.apgblogs</groupId>
    <artifactId>cloud-config</artifactId>

    <dependencies>
        <dependency>
            <groupId>org.springframework.cloud</groupId>
            <artifactId>spring-cloud-config-server</artifactId>
        </dependency>
    </dependencies>


</project>
4、创建配置中心启动类
类名:ConfigApplication
package com.apgblogs.cloudconfig;

import org.springframework.boot.SpringApplication;
import org.springframework.boot.autoconfigure.SpringBootApplication;
import org.springframework.cloud.config.server.EnableConfigServer;

/**
 * @author xiaomianyang
 * @description
 * @date 2019-09-10 14:27
 */
@SpringBootApplication
@EnableConfigServer
public class ConfigApplication {

    public static void main(String[] args) {
        SpringApplication.run(ConfigApplication.class,args);
    }
}
5、创建application配置文件
以下的git仓库指向的是我的地址,我加了ssh所以不需要账号密码,如果换成自己的可以用ssh也可以用账号密码登录
server:
  port: 8804
spring:
  application:
    name: cloud-config
  cloud:
    config:
      server:
        git:
          uri: git@gitee.com:apgblogs/springCloudStudyConfig.git
eureka:
  client:
    service-url:
      defaultZone: http://localhost:8801/eureka/
  instance:
    prefer-ip-address: true
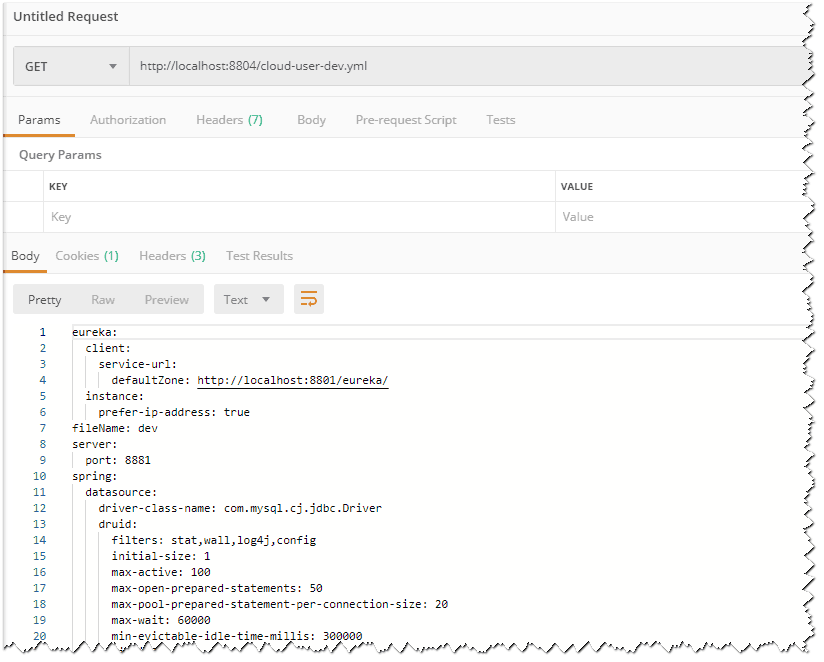
6、启动配置中心在postMan测试
可以使用postMan也可以在浏览器测试
访问规则
application 是微服务应用名
profile 是环境配置 如dev,test,prod等
label 是分支名 如master或者其他分支
地址规则
/{application}-{profile}.yml
/{label}/{application}-{profile}.yml
将用户微服务application中的所有配置信息复制到统一配置仓库cloud-user-dev.yml文件中,请求地址栏就可以看到如下信息,说明配置中心已经搭建好了
7、为用户微服务添加配置中心依赖
        <dependency>
            <groupId>org.springframework.cloud</groupId>
            <artifactId>spring-cloud-starter-config</artifactId>
        </dependency>
8、创建bootstrap.yml文件
删除application中的所有配置信息
在用户微服务resources目录下创建该文件
这里的uri就是本地的配置中心地址和端口
label就是分支名
profile就是环境名
application.name 是应用名对应配置文件应用名
spring:
  cloud:
    config:
      uri: http://localhost:8804
      label: master
      profile: dev
  application:
    name: cloud-user
9、文章源码地址
码云:https://gitee.com/apgblogs/springCloudStudy/tree/config/
启动用户微服务只要不报错并且正常连接上数据库了,说明用户微服务已经使用了配置中心的配置文件,这样配置文件的更新都可以在git仓库中完成了,后面将介绍如何动态更新配置文件还不用重启服务。